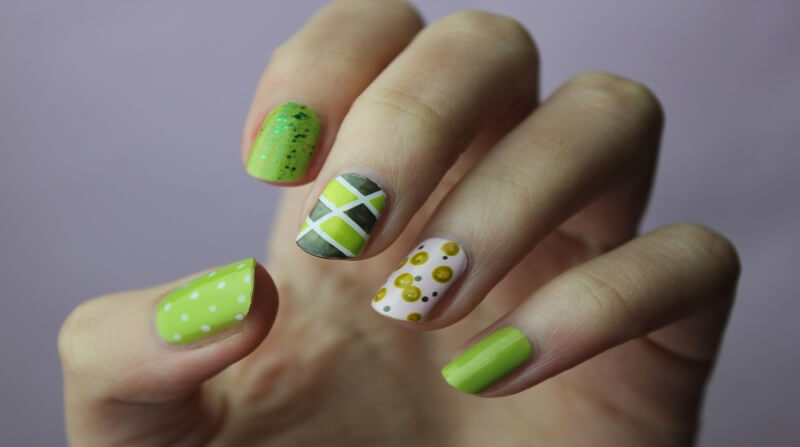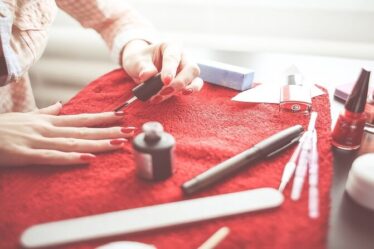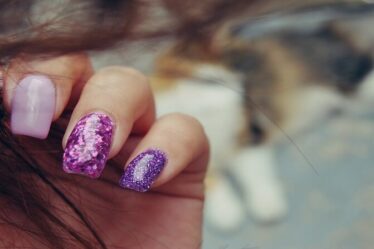
Hey Cuties! If you love the convenience and versatility of press-on nails but want something uniquely your own, why not try making custom press-on nails at home? Whether you’re new to press-ons or just want to add a personal touch, this step-by-step guide will walk you through the process of creating your very own set of custom nails. With a bit of creativity and the right tools, you can achieve salon-worthy nails from the comfort of home. Let’s check in!

1. Gather Your Materials
Before you start, it’s essential to have all the tools and materials you’ll need. This will make the process smoother and ensure your nails turn out just the way you want.
What You’ll Need:
- A set of clear or nude press-on nails (available in various shapes and lengths)
- Nail file and buffer
- Nail glue or adhesive tabs
- Base coat and top coat
- Nail polish (choose your favorite colors)
- Nail art brushes and tools (optional for detailed designs)
- Nail stickers, rhinestones, or decals (optional for decoration)
- Acetone and cotton pads (for cleaning)
- Cuticle pusher
Make sure to set up a clean, well-lit workspace before you begin. Having everything organized will make the process more enjoyable.
2. Prep Your Natural Nails
Properly prepping your natural nails is key to making your custom press-ons last longer and look their best.
Clean and Trim Your Nails
Start by cleaning your nails with soap and water, then trim and shape them to your desired length. Remove any old polish using acetone or nail polish remover, ensuring your nails are completely clean.
Push Back Your Cuticles
Gently push back your cuticles using a cuticle pusher for a clean and polished look. This step helps your press-on nails sit better and prevents lifting around the edges.
Buff Your Nails
3. Choose Your Nail Shape and Length
Now it’s time to customize the shape and length of your press-on nails. This step is all about personal preference, so choose a shape that suits your style!
File and Shape the Press-Ons
If the press-on nails aren’t already shaped to your liking, use a nail file to customize them. Popular shapes include almond, coffin, stiletto, and square. Take your time to ensure the shape is even and smooth.
Customize the Length
If the press-ons are too long, you can trim them down with nail clippers. Make sure to file the edges after trimming to avoid rough or uneven tips.
4. Create Your Nail Art Design
This is the fun part—designing your custom nails! Whether you prefer a minimalist look or something bold and colorful, the possibilities are endless.
Paint the Base Color
Start by applying a base coat to each press-on nail. Once it’s dry, paint the nails with your chosen color(s). Depending on the polish, you may need to apply 2-3 coats for full coverage. Make sure each layer is fully dry before moving on to the next one.
Add Nail Art (Optional)
If you want to add some flair, use nail art brushes, dotting tools, or nail stickers to create unique designs. Whether it’s intricate lines, floral patterns, or polka dots, this step is where you can get creative!
Ideas for Nail Art:
- Accent nails: Paint one or two nails in a different color or design for contrast.
- Rhinestones or studs: Add a few gems for some sparkle.
- Ombre effect: Combine two or more colors to create a seamless gradient look.
Seal with Top Coat
Once your design is finish and dry, apply a top coat to seal it in and add- shine. This also protects the polish from chipping and helps your custom nails last longer.
5. Apply the Press-On Nails
Now that your custom press-ons are ready, it’s time to apply them. This step requires a bit of precision, but it’s easy once you get the hang of it.
Apply Nail Glue or Adhesive Tabs
If you want your nails to last longer, nail glue is your best bet. Apply a thin layer of glue to your natural nail and the back side of the press-on nail.
For a temporary wear, adhesive tabs work well and are easy to remove later.
Press Firmly and Hold
Position the press-on nail against your cuticle, starting at the base, and press down firmly. Hold the nail in place for about 10-15 seconds to ensure it adheres properly. Repeat this step for all nails.
6. Finishing Touches
Once all your nails are applied, you’re almost done! Here are a few final steps to ensure your custom nails look polished and professional.
Clean Up Any Excess Glue
If any glue has seeped out around the edges, use a cotton swab dipped in acetone to clean it up carefully. This will offer your nails a clean appearance.
Moisturize Your Hands
Conclude by hydrating your hands and cuticles with a moisturizing hand cream or cuticle oil.This will keep your skin soft and prevent dryness, especially after using acetone.
Table: Step-by-Step Overview for DIY Custom Press-On Nails
| Step | Details |
|---|---|
| Gather Materials | Prepare press-on nails, nail polish, tools, and glue. |
| Prep Your Natural Nails | Clean, trim, buff, and push back cuticles for smooth application. |
| Choose Shape and Length | File and shape the press-ons to your preferred look. |
| Create Nail Art Design | Paint, decorate, and apply top coat for custom designs. |
| Apply Press-On Nails | Use glue or adhesive tabs, press down firmly, and hold. |
| Finishing Touches | Clean excess glue, moisturize hands, and enjoy! |
7. Care for Your Custom Press-On Nails
To make your custom press-on nails last longer and stay looking their best, a little extra care goes a long way.
Avoid Soaking Hands in Water
Too much exposure to water can weaken the adhesive, so wear gloves when washing dishes or cleaning. Try to avoid soaking your hands for long periods, especially right after application.
Be Gentle with Your Hands
Remember that press-on nails are not as sturdy as salon acrylics, so be mindful when doing activities that could stress your nails, such as opening cans or heavy typing.
Reapply Glue as Needed
If you notice any lifting or loosening, don’t hesitate to reapply a small amount of glue to re-secure the nail.
Conclusion: Create Stunning Custom Press-On Nails at Home
There you have it—a complete guide to creating your very own custom press-on nails at home! By following these simple steps, you can design nails that are entirely unique to your style, without the hassle or cost of going to a salon. The best part? You can switch up your look anytime, whether you’re feeling bold or keeping it classic. Have fun with it, and remember that practice makes perfect when it comes to nail art!
Thanks for joining me today on Preebeauty! I’d love to hear how your DIY press-on nails turned out—share your experiences or tips in the comments below. Happy nail crafting!


