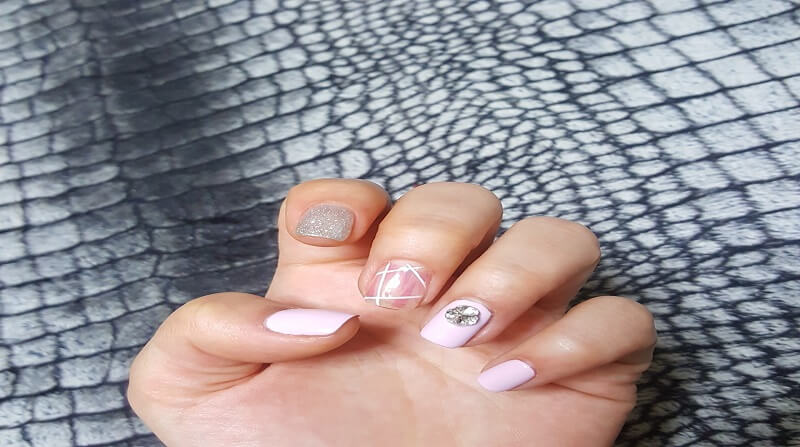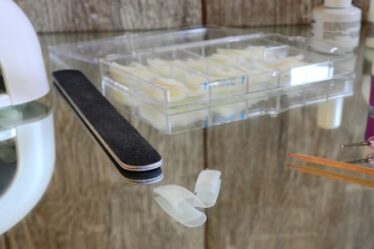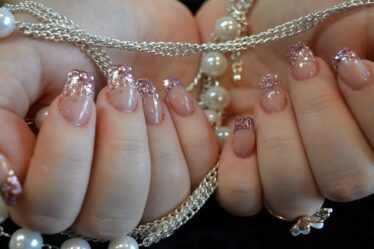
Press-on nails have become a popular alternative to salon manicures because they’re quick, affordable, and come in a variety of styles. However, keeping them looking fresh for days or even weeks takes a bit of care and attention. In today’s post, I’ll share the essential dos and don’ts for maintaining your press-on nails so they look beautiful and last longer. Whether you’re new to press-ons or a seasoned fan, these tips will help you get the best results.

1. Dos and Don’ts for Preparation
Preparing your natural nails before applying press-ons is crucial for ensuring they stick well and last longer. Skipping this step can lead to lifting or peeling, so make sure you start with clean and prepped nails.
Do: Start with Clean, Dry Nails
- Why: Oils, lotions, or water can interfere with the glue, causing the press-ons to come off quickly.
- How: Use a gentle nail polish remover or alcohol wipe to remove any oils, and let your nails air dry before applying the press-ons.
Don’t: Skip Buffing Your Nails
- Why: Buffing removes the natural shine, which helps the glue bond better to your nails.
- Tip: Lightly buff each nail with a fine-grit nail file for a rougher surface that holds the press-on adhesive more effectively.
Proper prep is key to getting your press-ons to adhere better and last longer, so don’t rush through this step.
2. Dos and Don’ts for Application
Correct application plays a big role in how well your press-ons stay in place. Here are some dos and don’ts to keep in mind when applying your nails.
Do: Use a Strong Nail Glue
- Why: While many press-ons come with adhesive tabs, nail glue generally provides a stronger, longer-lasting hold.
- Tip: Apply a small amount of glue to both your natural nail and the press-on for the best adhesion.
Don’t: Use Excessive Glue
- Why: Too much glue can cause a messy application and can lead to air bubbles, which make the nails less secure.
- Tip: Use just a thin layer on each nail—enough to cover the surface without excess.
Proper application techniques ensure that your press-ons will stay put and look natural.
3. Dos and Don’ts for Daily Maintenance
Taking care of your press-ons daily is essential for keeping them in great shape. With a few small steps each day, you can extend their lifespan and keep them looking fresh.
Do: Moisturize Your Cuticles (But Carefully)
- Why: Hydrated cuticles help maintain a healthy nail bed, but you don’t want to get oils or lotion on the press-ons.
- Tip: Apply cuticle oil around the edges, avoiding direct contact with the nail surface, as oils can loosen the glue.
Don’t: Soak Your Hands in Water for Long Periods
- Why: Prolonged water exposure can weaken the glue, leading to lifting or detachment.
- Tip: Wear gloves while doing activities like washing dishes or cleaning, and avoid long baths if you want your nails to last.
Simple adjustments to your daily routine can prevent premature lifting and keep your nails looking polished.
4. Dos and Don’ts for Repairing a Loose Press-On
If you notice a press-on starting to lift, there are ways to fix it without removing the entire nail. Here’s what you should and shouldn’t do when a press-on starts to come loose.
Do: Reapply Glue at the First Sign of Lifting
- Why: Adding a small dab of glue as soon as you notice lifting can keep your press-ons secure.
- Tip: Carefully lift the press-on just enough to apply a tiny amount of glue and press it back down.
Don’t: Forcefully Push the Nail Back Down Without Glue
- Why: Without additional adhesive, the press-on will continue to lift and may break or damage your natural nail.
- Tip: Always reapply glue to keep the bond strong and prevent further lifting or peeling.
Addressing minor issues quickly will help your press-ons last longer and prevent more serious lifting or loss.
5. Dos and Don’ts for Removal
When it’s time to take your press-ons off, it’s important to do so gently to protect your natural nails. Improper removal can lead to nail damage, so follow these dos and don’ts for safe press-on nail removal.
Do: Soak Your Nails to Loosen the Glue
- Why? Soaking your nails in warm, soapy water for ’10-15′ minutes can help soften the glue, making it easier to eliminate the press-ons.
- Tip: Use a gentle cuticle pusher to lift the press-on nails once they’ve been soaked.
Don’t: Peel Off the Nails Forcefully
- Why: Peeling or pulling can damage the top layer of your natural nails, making them weak and prone to breakage.
- Tip: If any glue remains, use an acetone-based remover to dissolve it rather than scrubbing or peeling.
Taking your time with removal will keep your nails healthy and ready for the next set of press-ons.
Quick Recap: Dos and Don’ts for Long-Lasting Press-On Nails
| Step | Do | Don’t |
|---|---|---|
| Preparation | Start with clean, dry nails | Skip buffing |
| Application | Use strong nail glue | Use excessive glue |
| Daily Care | Moisturize cuticles carefully | Soak hands in water too long |
| Repair | Add glue when lifting starts | Press down without glue |
| Removal | Soak nails before removal | Peel off forcefully |
Conclusion: Keep Your Press-On Nails Looking Fresh
By following these dos and don’ts, you can keep your press-on nails looking as good as the day you applied them. From proper prep to careful daily care and safe removal, a little extra attention goes a long way in extending the life of your nails and maintaining their flawless look. Stick to these tips, and your press-ons will stay secure, stylish, and ready to show off!
Enjoy your press-ons, and feel free to experiment with new styles knowing you have the know-how to make them last!


